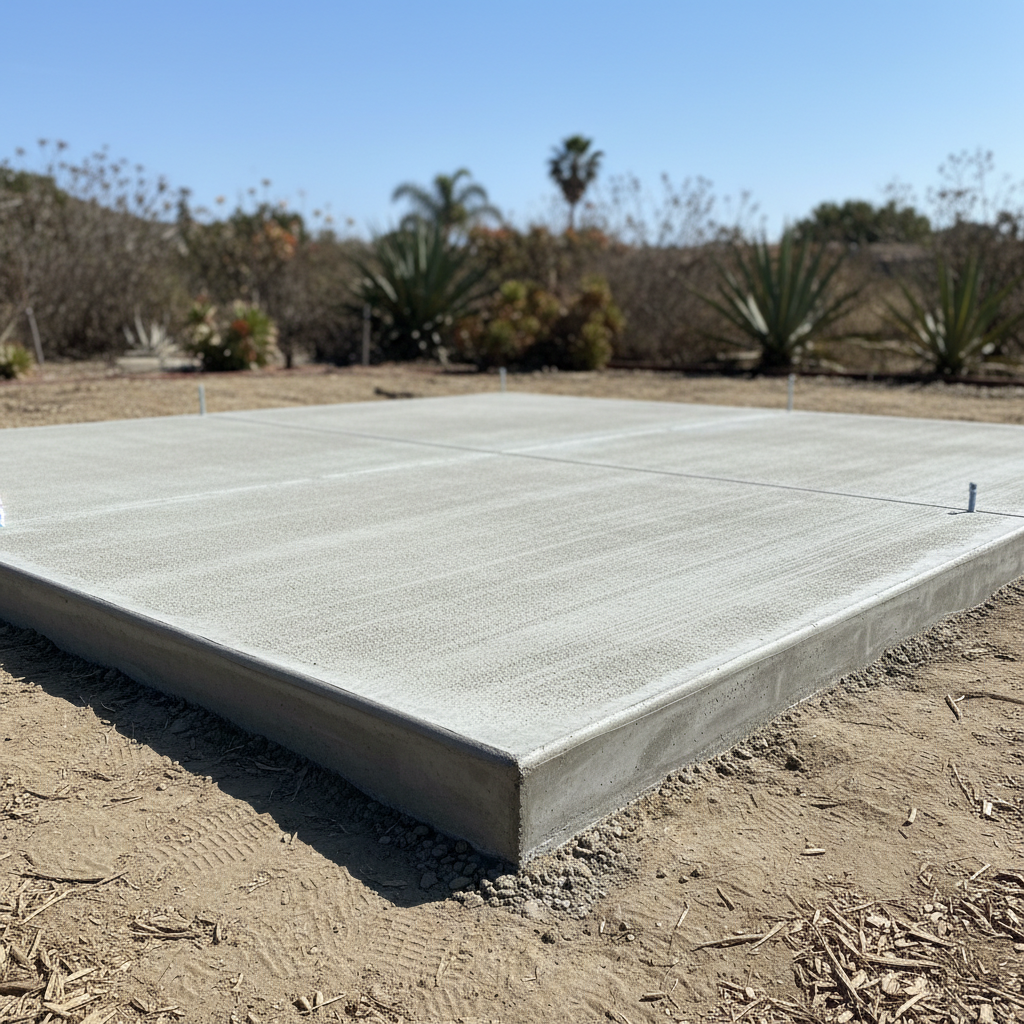
Are you staring at a pile of tools in your garage and thinking it is time to build a backyard shed? Before you buy a pre-fab kit or start hauling lumber, you have to look at the ground beneath your feet. Around Fire Mountain and down toward South Oceanside, our mix of sandy soils and coastal moisture can wreck a poorly anchored shed faster than you would think. Getting the foundation right is the difference between a sturdy structure that lasts for decades and a leaning headache.
Before You Build: Prep Work and Permits
You cannot just pick a corner of the yard and start digging. First, check with the City of Oceanside Development Services Department regarding setbacks and size limits. Generally, smaller sheds under 120 square feet might dodge a full building permit, but you still have to respect property lines. Next, look at your soil. If you are on a lot with loose sand or mixed fill, surface settling is a real possibility over time. Walk your yard during a rare heavy rain or check where water pools. If your site turns into a soggy mess, you will need to factor in proper drainage before pouring concrete or laying gravel.
During the Project: DIY vs. Hiring a Pro
This is where you need to be honest with yourself about your skill set and weekend energy levels. If you are building a compact, lightweight storage shed on skid foundations, you can realistically handle it yourself. You will clear the vegetation, level the ground, lay down weed barrier, and pack down a solid base of crushed gravel with a rented compactor.
However, if you are putting up a heavy timber workshop or a backyard office that requires a reinforced concrete slab, that is a different story. Pouring concrete requires precision grading, setting forms, placing rebar to fight salt-air corrosion, and finishing the surface before it sets up in the coastal air. Oceanside Shed Solutions often gets calls from homeowners who started a DIY concrete pour only to watch it crack or settle unevenly because the sub-base was not compacted right. If mixing yards of concrete and pulling structural permits sounds miserable, call a professional contractor to handle the heavy lifting.
After the Pour: Curing and Anchoring
If you went the concrete route, do not rush to throw your heavy gear inside. Give the slab adequate time to cure, keeping it damp for a few days so it reaches its maximum strength. If you are using a wood frame, make sure there is a proper moisture barrier installed to keep ground dampness from rotting your bottom plates. Anchor bolts need to be set precisely according to local wind load requirements, because even though we do not get hurricanes here, coastal gusts can catch a wide shed wall like a sail.
Take your time on this phase. Fix any minor drainage issues around the slab perimeter right away so runoff flows away from the structure instead of pooling against the base. A little extra effort on the front end means your new shed stays square, dry, and secure year after year.