Getting a new storage building delivered or built is exciting, but everything depends on what is underneath it. If you skip proper site prep, even the best-built structure will eventually warp, sag, or pull out of square. Here is how Oceanside Shed Solutions approaches foundation work around Oceanside, where our coastal slopes and sandy-to-clay soils demand a little extra attention before you drop weight on the ground.
Before You Break Ground: Planning and Rules
You cannot just pick a corner of the yard and start digging. First, take a close look at your property lines. In Oceanside, small storage sheds under 120 square feet often skip the full building permit process, but they still have to follow local setback rules. Put your shed too close to the fence, and code enforcement might ask you to move it.
Next, look at how water moves across your yard. We do not get a ton of rain year-round, but when those winter storms roll in off the Pacific, runoff can pool up fast in low spots. You want a site that naturally sheds water, or you will need to grade it so moisture flows around your base rather than soaking underneath it.
During the Project: Excavating and Choosing Materials
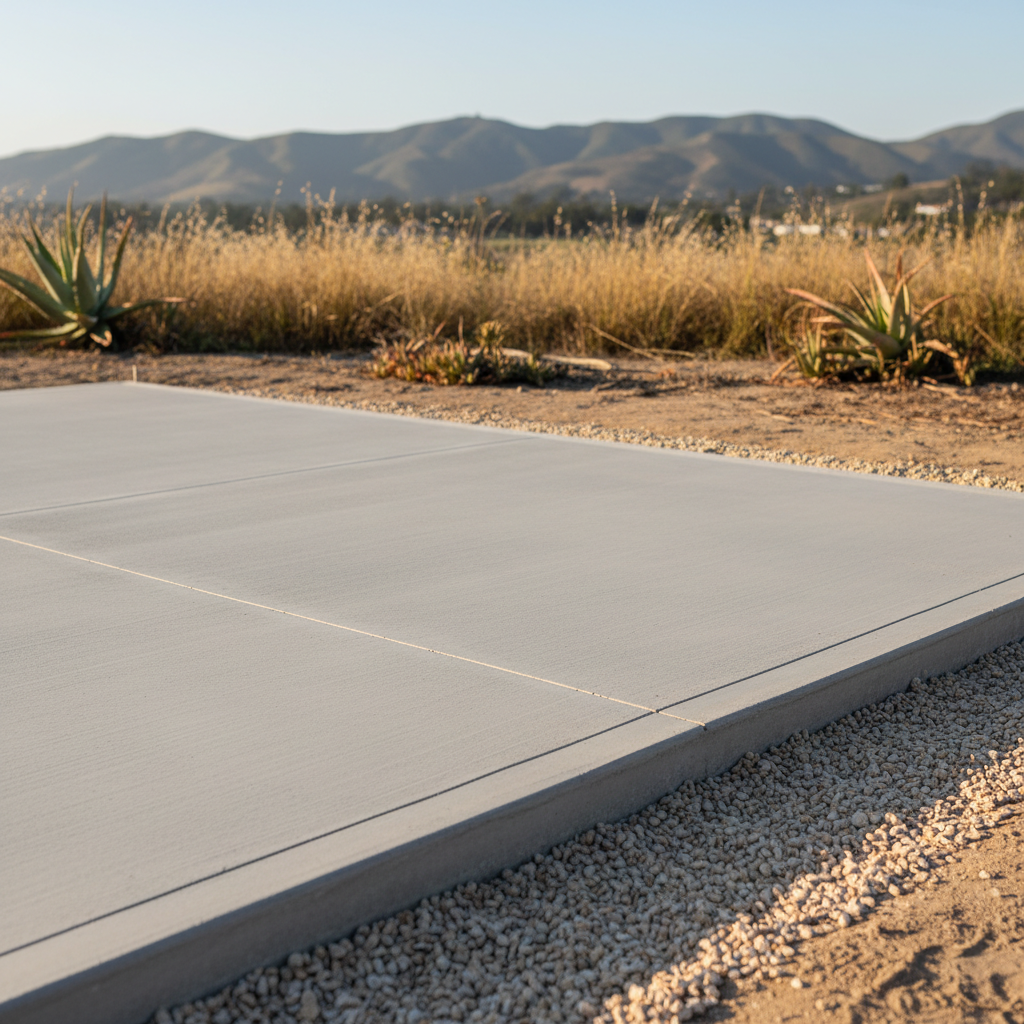
Once you clear the footprint, you have to decide on the actual pad style. A crushed angular gravel pad is usually the smartest choice for a standard wooden shed because it allows drainage and keeps the pressure-treated skids from sitting in standing water. Concrete slabs work well for heavy-duty workshops, but they cost more and require precise leveling and formwork.
- Clear away all topsoil and organic matter so nothing rots underneath.
- Dig down a few inches and lay down a heavy-duty weed barrier fabric.
- Bring in crushed stone, spread it evenly, and pack it down tight with a plate compactor.
If your yard slopes down toward the alley or your neighbor's property, you might need to build a low retaining wall or step up one side of the frame. Never try to bridge a major slope by propping a wooden skid up on random bricks or shims. Over time, those points will shift.
After the Build: Maintenance and Drainage Checks
Once your structure is anchored and sitting level, your job does not entirely end. Keep an eye on the perimeter during the first heavy rain of the season. Oceanside Shed Solutions always tells homeowners to make sure mulch or garden dirt is not creeping up against the siding or blocking the gravel edge from draining freely. Clear out any debris from the perimeter trench twice a year.
What You Can DIY vs. When to Call a Pro
If you have a flat yard, a shovel, a rented plate compactor, and a free weekend, putting together a gravel pad for a standard 10x12 shed is a very manageable DIY project. You will sweat a bit, but you can save yourself some cash.
On the flip side, call in a professional contractor if your site sits on a steep slope, requires retaining walls, or demands a poured concrete slab with precise rebar grids and footings. If you miscalculate drainage on a tricky grade, fixing a sliding foundation later costs more than getting it built right the first time.